 Velo Workspaces
- Download
- About 4 GBgraphical ISO; minimal is 1.3 GB
- Install
- About 10 minutestimed on an Apple silicon Mac mini
- Setup
- By handa point-and-click installer
- You get
- NixOS with GNOMEor Plasma, or no desktop
Start a workspace from an installer
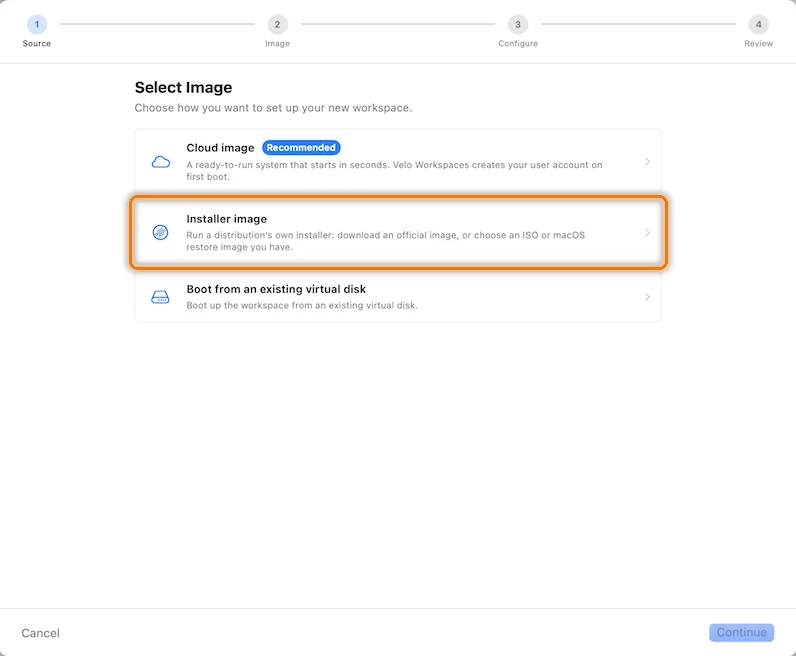
Pick a kind of workspace in the sidebar and click + at the top right of the window. On the first step of the assistant, choose Installer image.
 Click to enlarge
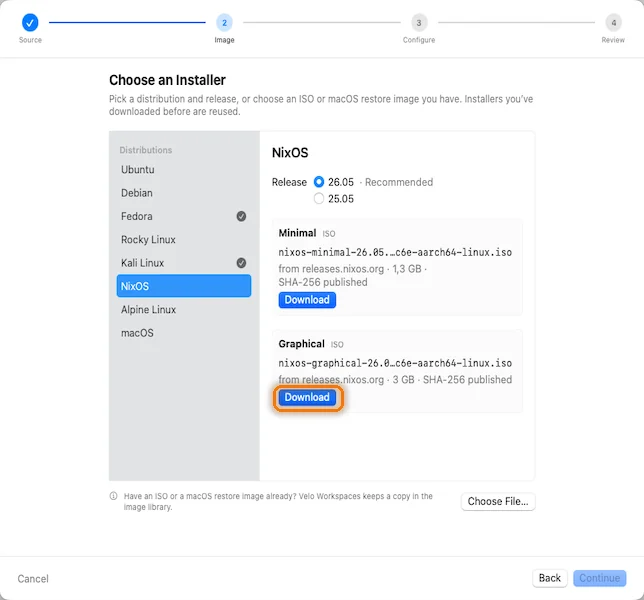
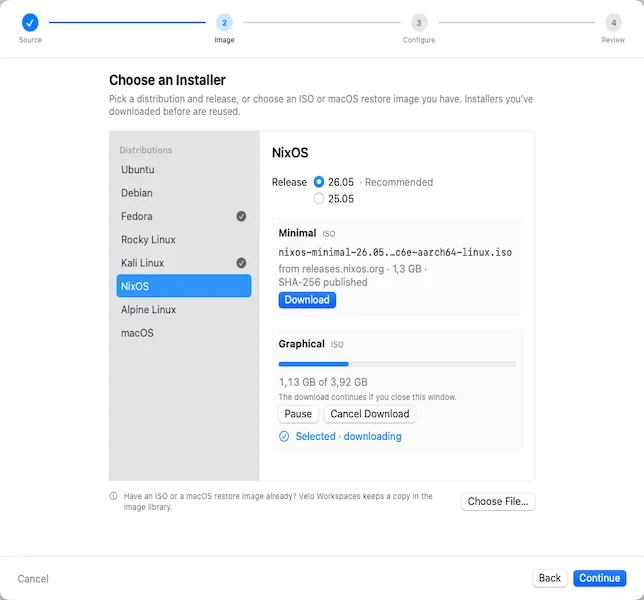
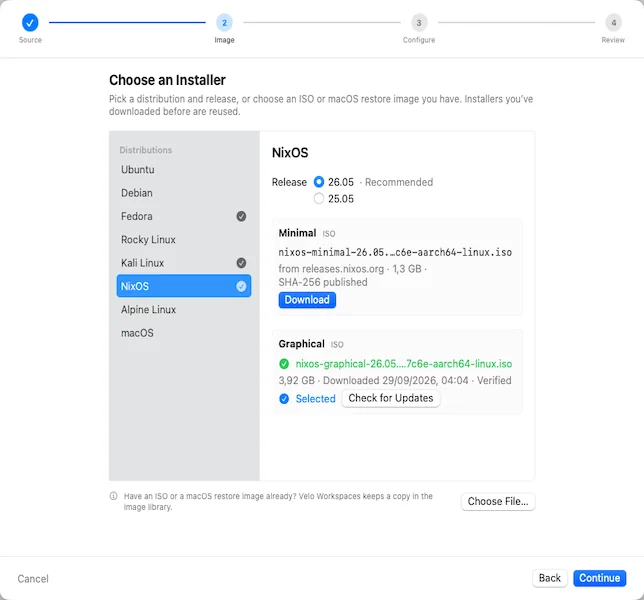
Download the graphical installer
Choose NixOS and release 26.05. The Minimal ISO boots to a console, where you partition the disk and run nixos-install yourself. The Graphical one has a point-and-click installer, and it's what this guide uses.
 Click to enlarge
 Click to enlarge
 Click to enlarge
Configure the workspace
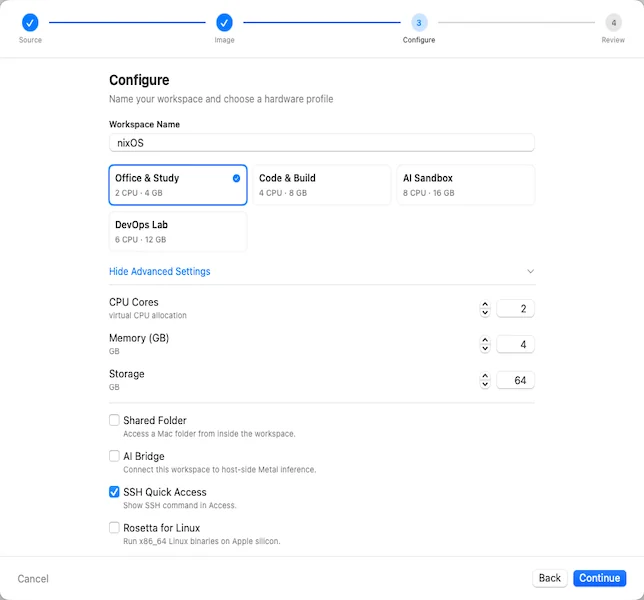
Office & Study (2 CPU, 4 GB) runs the GNOME installer fine. Choose Code & Build instead if you'll build much with Nix, because rebuilds like more cores and memory. Storage is 64 GB unless you change it; the Nix store grows with every generation, so don't go much lower. There's no account to enter here: the installer creates it.
 Click to enlarge
Review and start the installer
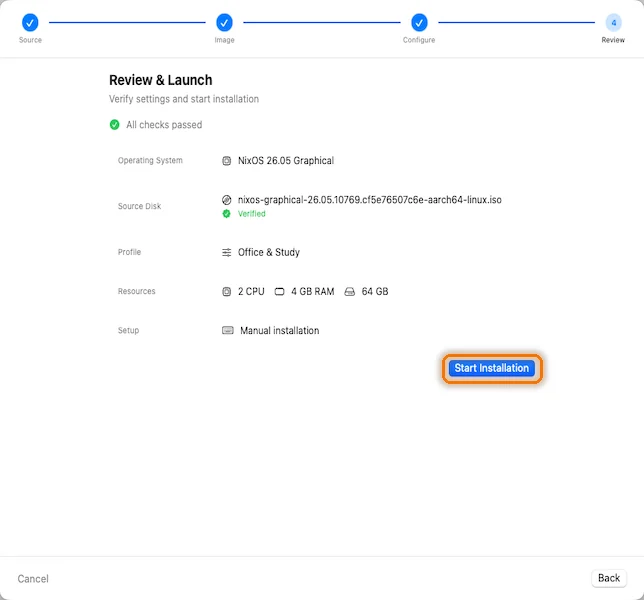
Setup reads Manual installation. Click Start Installation.
 Click to enlarge
Let the boot menu time out
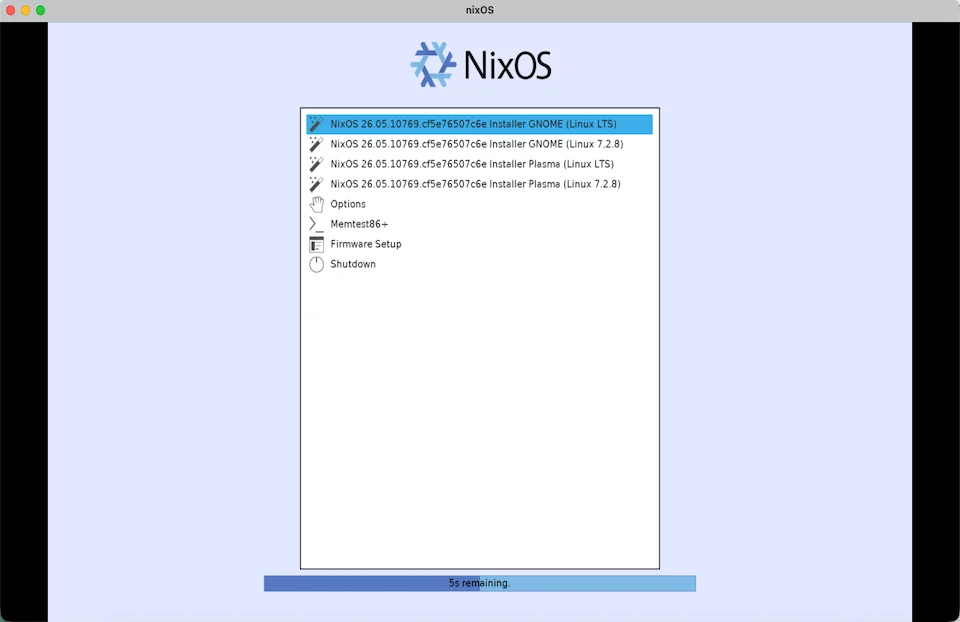
The installer's boot menu starts Installer GNOME (Linux LTS) on its own after a few seconds. The Plasma entries give you a KDE live session instead; the installer is the same.
 Click to enlarge
Run the installer
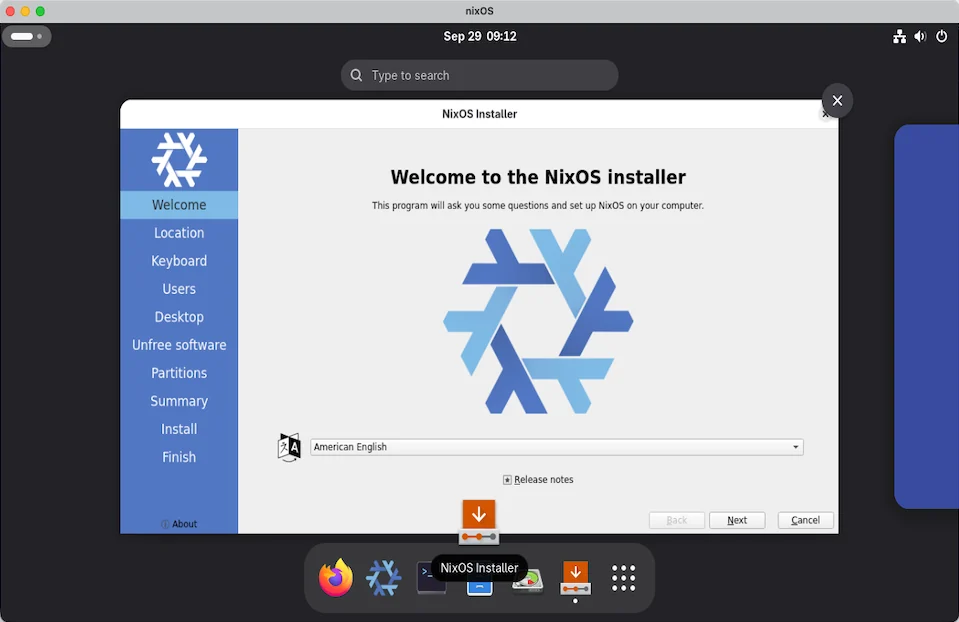
The NixOS installer opens by itself in the live session. Work down the list on its left: location, keyboard, your user account and password, a desktop (GNOME, Plasma or none), whether to allow unfree software, partitions and a summary. For partitions, Erase disk is the right choice: the only disk is the workspace's virtual one.
 Click to enlarge
Click Install and wait. It fetches some packages from the NixOS cache as well as copying from the ISO, so the workspace needs its internet connection.
Restart into NixOS
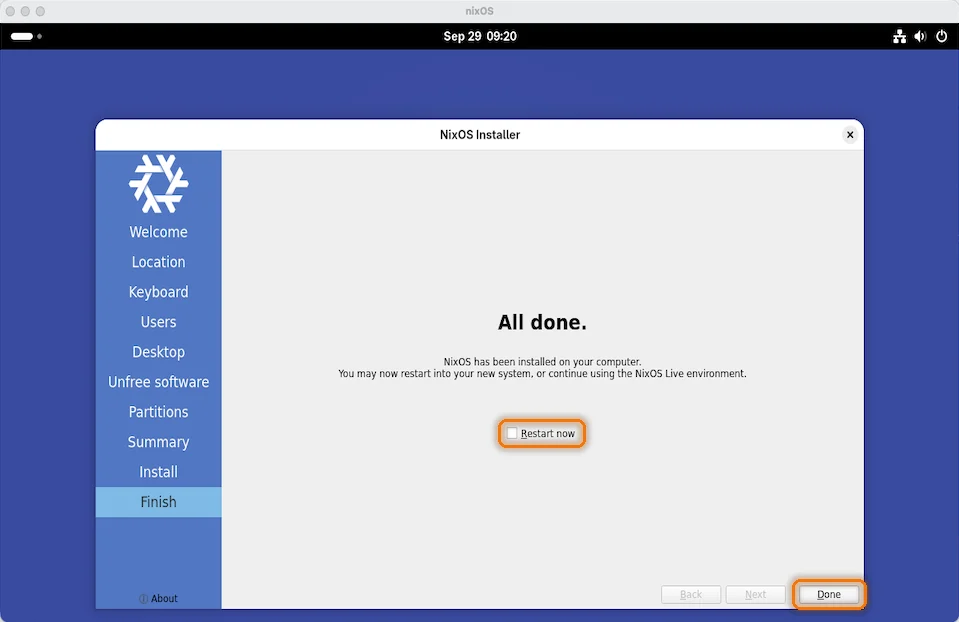
At All done, tick Restart now and click Done.
 Click to enlarge
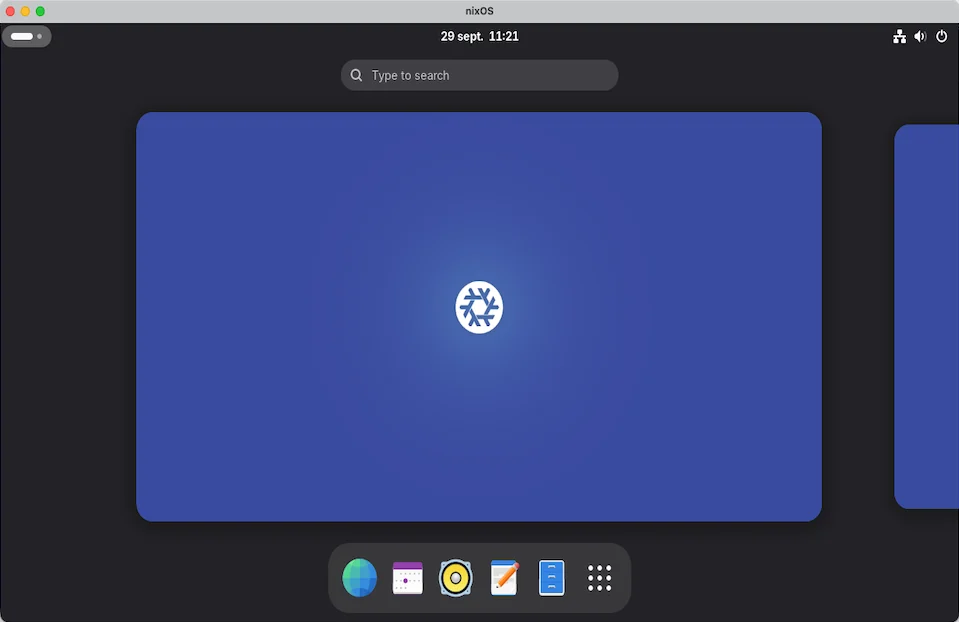
The workspace restarts into your new system.
 Click to enlarge
Tell Velo Workspaces the install is done
After a manual install the workspace shows Finished installing the workspace's OS? at the top until you answer it, because only you know when the installer has finished. Click Installation Complete.
 Click to enlarge
While an OS is being installed, the workspace uses Large Text display scaling, so the boot menu and installer are big enough to read. Once you click, Velo Workspaces stops attaching the installer and uses the workspace's own display setting from the next start. Stop and start the workspace once to switch; rebooting NixOS from inside isn't enough.
Turn on SSH, the NixOS way
On NixOS you don't install an SSH server, you declare one. Open a terminal in the workspace and edit the system configuration:
sudo nano /etc/nixos/configuration.nixAdd these lines inside the outer braces, with your username and a public key. Use the key from Preferences › Access › Copy Public Key for the built-in terminal, and your Mac's ~/.ssh/id_ed25519.pub for Terminal and VS Code; you can list both.
services.openssh.enable = true;
users.users.you.openssh.authorizedKeys.keys = [
  "ssh-ed25519 AAAA... Velo Workspaces"
  "ssh-ed25519 AAAA... you@your-mac"
];
Then apply it:
sudo nixos-rebuild switchIn the Access tab, type your username under User and click Check Now. Once it says SSH ready, Open Terminal signs you in.
Pro feature. The built-in terminal is part of Velo Workspaces Pro, which you can try free for a week. Without it, copy the ssh command from the Access tab into Terminal. That uses the keys in your ~/.ssh folder, so the workspace has to trust one of them: the SSH and VS Code guide shows how.