 Velo Workspaces
- Your time
- About 2 minutesAnaconda runs on its own
- Download
- About 1.3 GBFedora 44 Server netinst ISO
- You get
- Fedora Serveraccount, keys and Cockpit
- Same steps for
- Rocky Linux9 and 10, minimal or DVD
Start a workspace from an installer
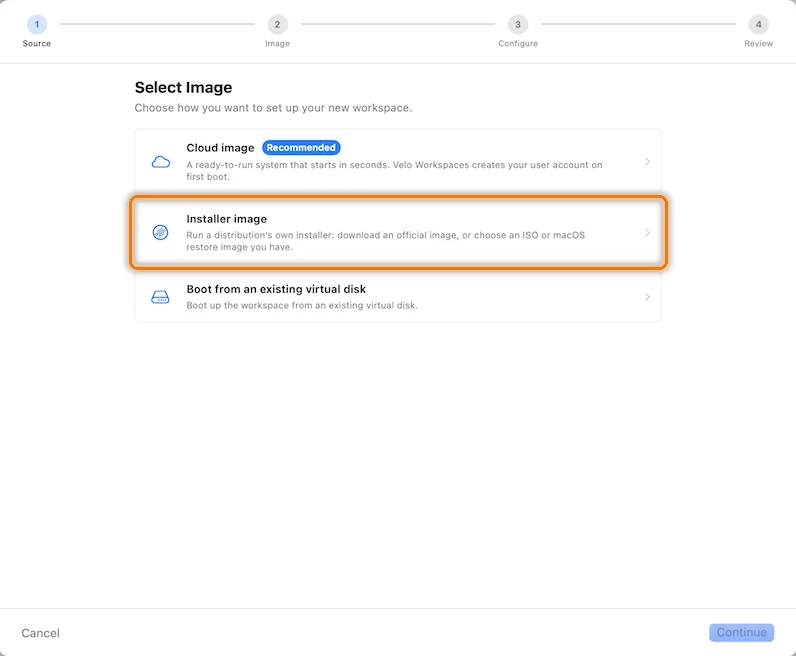
Pick a kind of workspace in the sidebar and click + at the top right of the window. On the first step of the assistant, choose Installer image.
 Click to enlarge
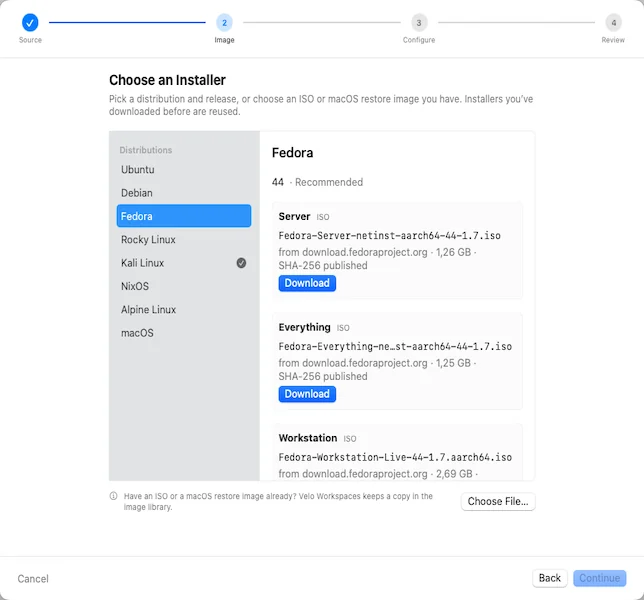
Choose Fedora Server
Choose Fedora and release 44. There are three ISOs. Server and Everything are network installers that Velo Workspaces can drive on its own; Workstation is a live desktop image you install by hand. Download Server.
 Click to enlarge
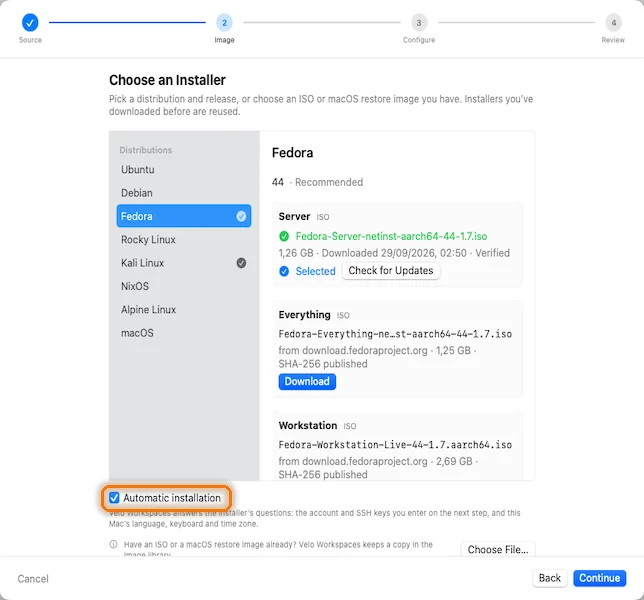
Keep Automatic installation ticked
When the ISO has downloaded and been checked against Fedora's published checksum, make sure Automatic installation is ticked below the list, and click Continue.
 Click to enlarge
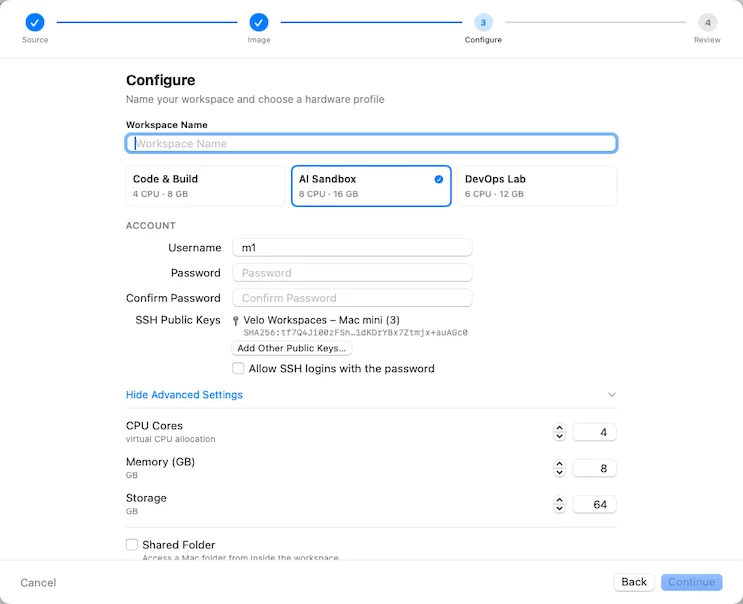
Name it and create your account
The name becomes the hostname, so “Sandbox Fedora” here turns into sandbox-fedora. Pick a profile, then the username and password Anaconda should create. This Mac's key goes into the account's authorized keys automatically.
 Click to enlarge
Review and start
Setup reads Automatic: Anaconda kickstart. Click Start Installation.
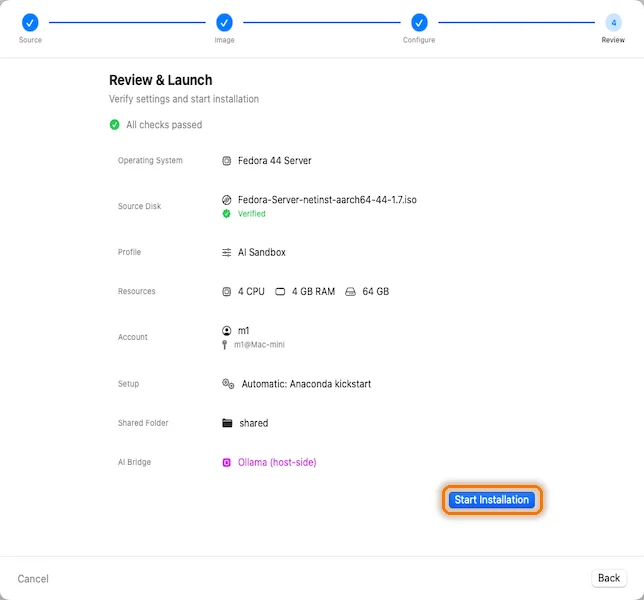 Click to enlarge
Let Anaconda work
Anaconda runs in text mode in the workspace's display. It partitions the disk, then downloads and installs packages: the Server ISO is a network installer, so it fetches around 700 packages from Fedora's mirrors. Don't type in it. It restarts on its own when it's done. How the kickstart reaches Anaconda with nothing on the kernel command line, and how the workspace knows the install has finished, is in unattended Ubuntu and Fedora installs, without a PXE server.
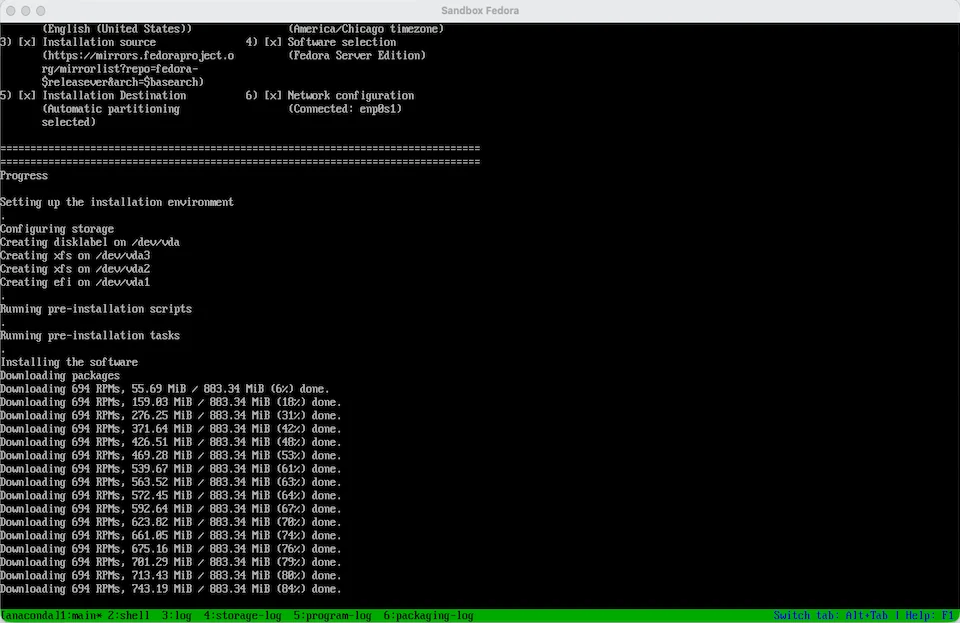 Click to enlarge
Sign in
The workspace comes back up at a login prompt. Fedora Server also starts Cockpit, its web console, on port 9090: open https://<workspace IP>:9090 in your Mac's browser and sign in with the same account if you'd like a dashboard.
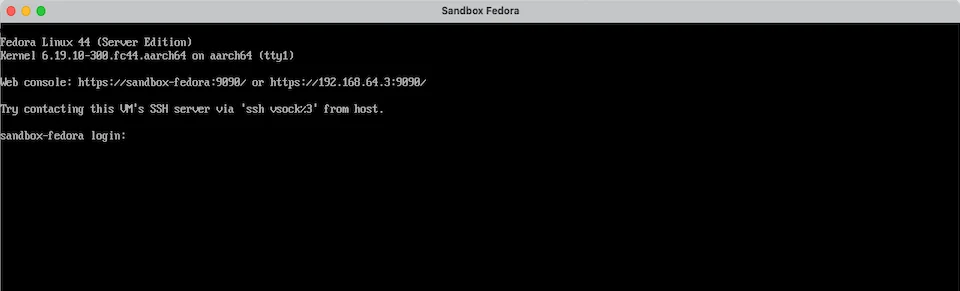 Click to enlarge
In the Access tab, SSH turns ready within seconds. Click Open Terminal.
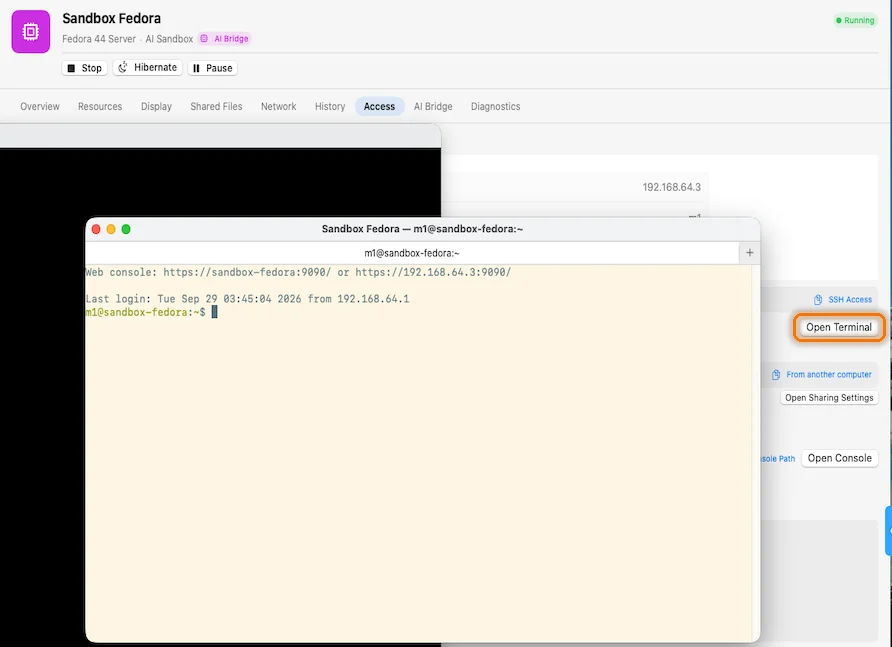 Click to enlarge
sandbox-fedora over SSH.Pro feature. The built-in terminal is part of Velo Workspaces Pro, which you can try free for a week. Without it, copy the ssh command from the Access tab into Terminal. That uses the keys in your ~/.ssh folder, so the workspace has to trust one of them: the SSH and VS Code guide shows how.
Rocky Linux and Fedora Everything
Rocky Linux 9 and 10 (minimal and DVD ISOs) and Fedora Everything install exactly the same way, because they use the same Anaconda installer. Fedora and Rocky Linux also have cloud images in Velo Workspaces, if you'd rather skip the installer altogether.